Understanding Creator's Interface
This page will explain you everything about the Creator Interface.
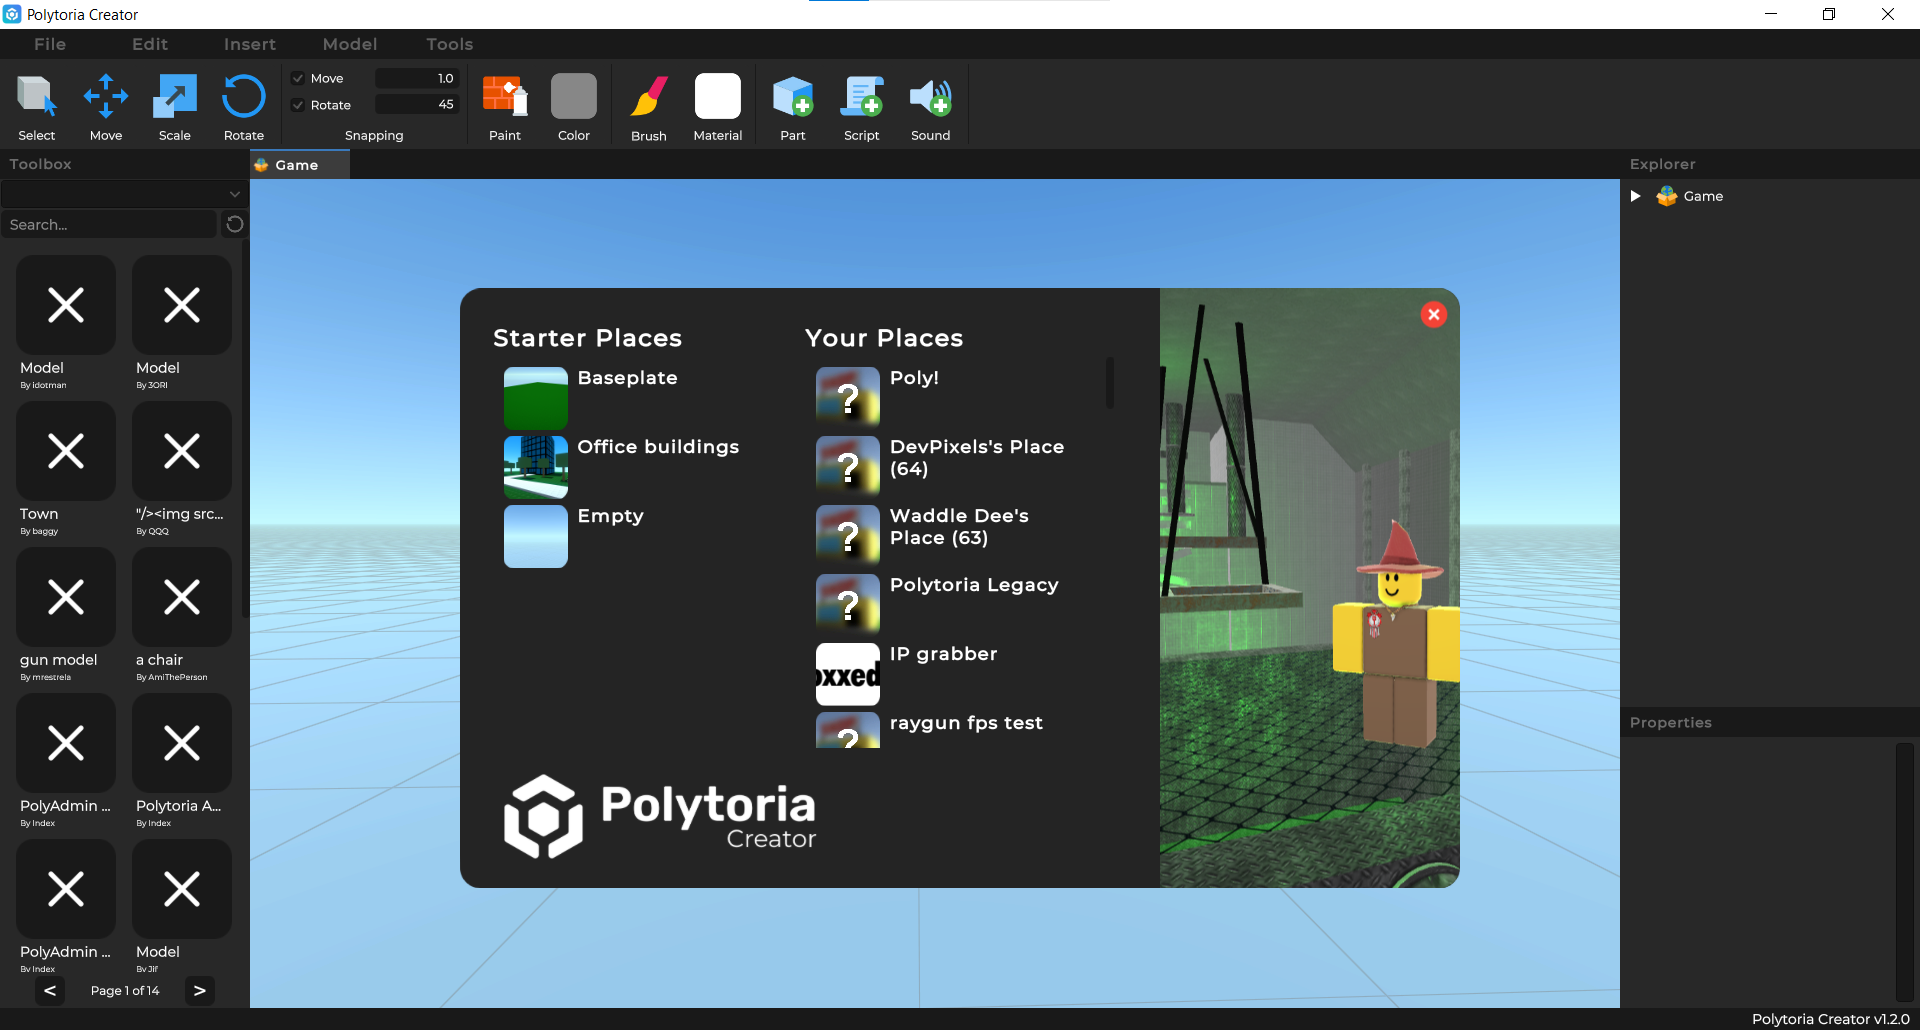
When you start the creator via the "Launch Creator" button on the Create page, you will see the following screen:
Setup Wizard
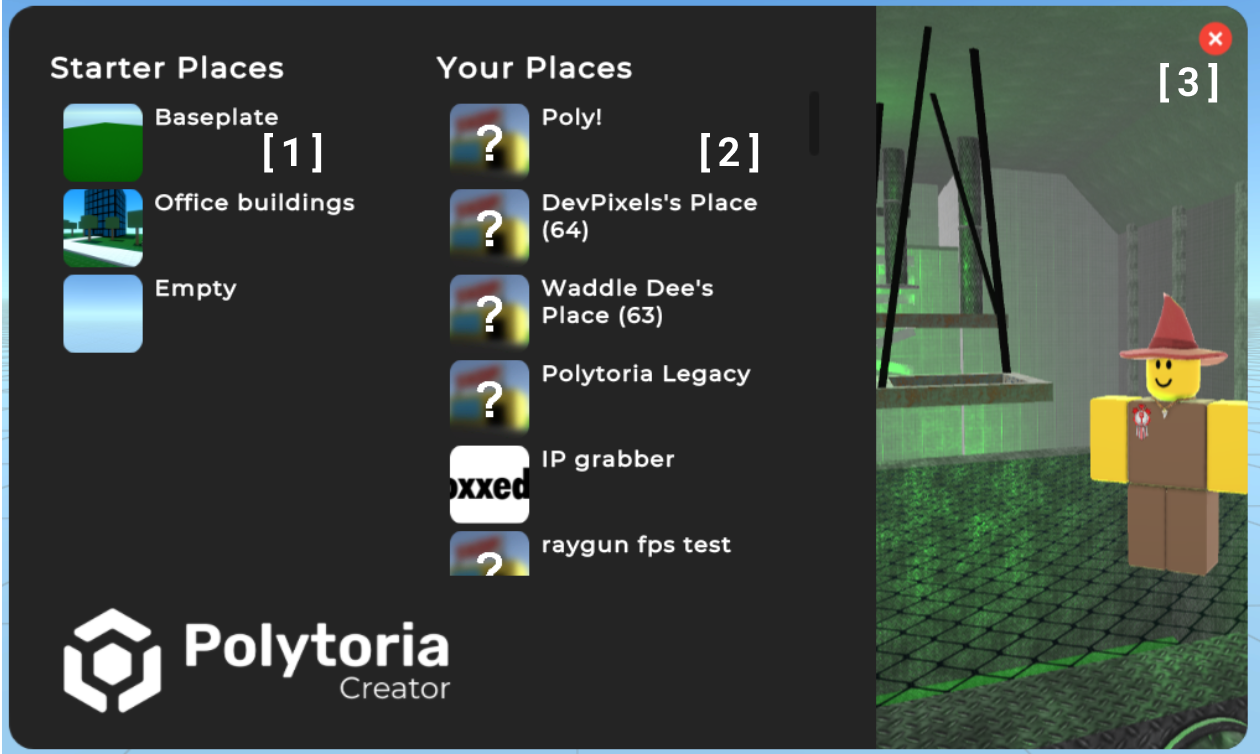
- Starter Places - You can pick one of these template to start creating your place.
- Your Places - This is a list of your recently edited places. You can pick one of these to continue editing.
- Close - This button will close the Setup Wizard.
Main Interface
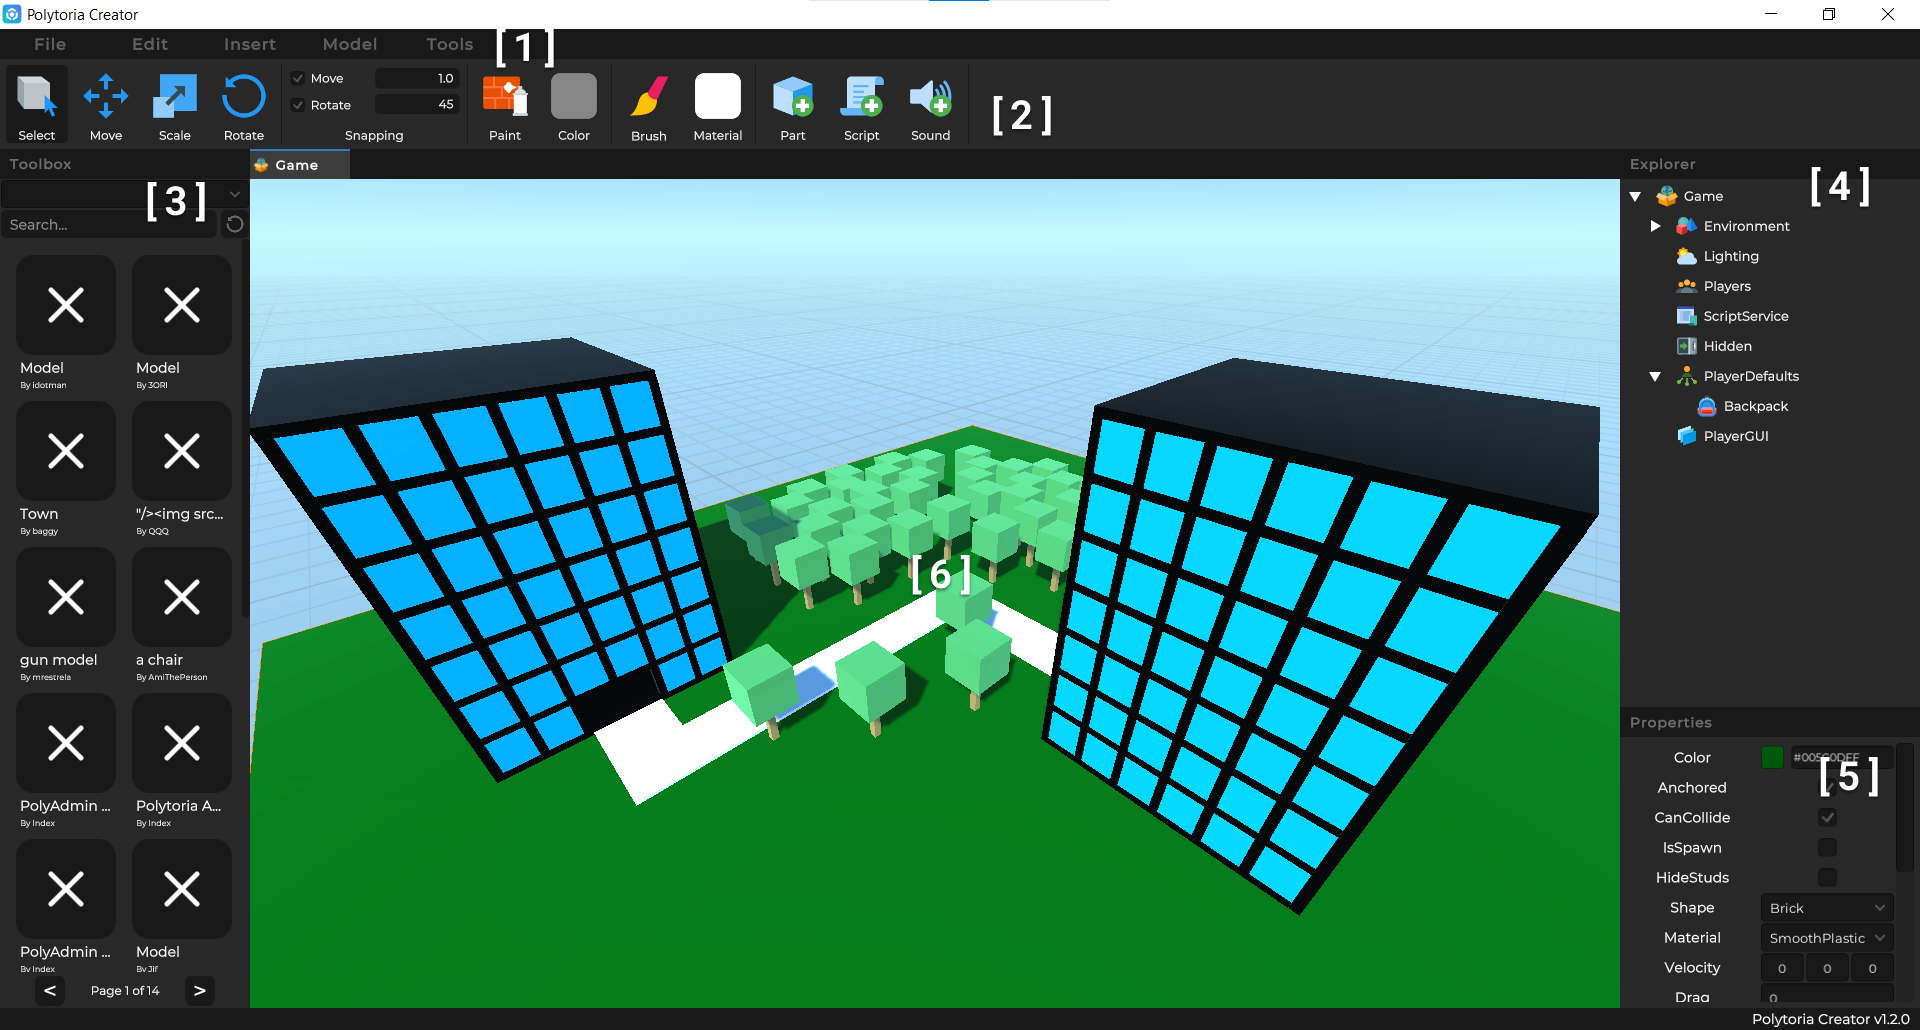
- Menu Bar - Access various menus including: File, Edit, Insert, Model and Tools. View Menu Bar Options further below to learn more.
- Toolbar - Access various tools such as Select, Move, Rotate, Scale and others. View Toolbar Tools further below to learn more.
- Toolbox - Insert models created by other users into your place. See Publishing Models (TODO) to publish your own.
- Explorer - View and modify the place structure. You will need this to move objects from one parent to another.
- Properties - Modify the various properties of the selected object.
- Scene View - The place's scene. The gizmos from the Select, Move, Scale and Rotate tools will appear here for you to use. The Paint, Color, Brush and Material tools require you to click objects within the Scene View.
Menu Bar Options
- File ─ Create, open, save and publish places as well as exiting the Creator.
- Edit ─ Undo and Redo your actions as well as deleting, duplicating, grouping and ungrouping objects.
- Insert ─ Insert various objects into the place.
- Model ─ You can use this menu to import, export or publish your models.
- Tools ─ You can use this menu to test the place.
Toolbar Tools
- Select ─ Click an object within the Scene View to select it. You may hold Shift while clicking to select additional objects. You may also drag your mouse to select an area of parts at once.
- Move ─ Move the selected object(s).
- Rotate ─ Rotate the selected object(s).
- Scale ─ Scale the selected object(s).
- Snapping ─ Change or toggle the snapping of the Move and Rotate tools.
- Paint ─ Paint an object by clicking on it in the Scene View.
- Color ─ Select the color to use with the Paint tool.
- Brush ─ Apply a material to an object by clicking on it in the Scene View.
- Material ─ Select the material to use with the brush tool.
- Create Part ─ Create a new part.
- Create Script ─ Create a new script.
- Create Sound ─ Create a new sound.
Toolbox
- Filter ─ Filter the Toolbox between the recently uploaded models and your uploaded models.
- Search ─ Search the Toolbox.
- Refresh ─ Refresh the Toolbox.
- Previous ─ Go to previous page of the Toolbox.
- Next ─ Go to next page of the Toolbox.
Publish Place Menu
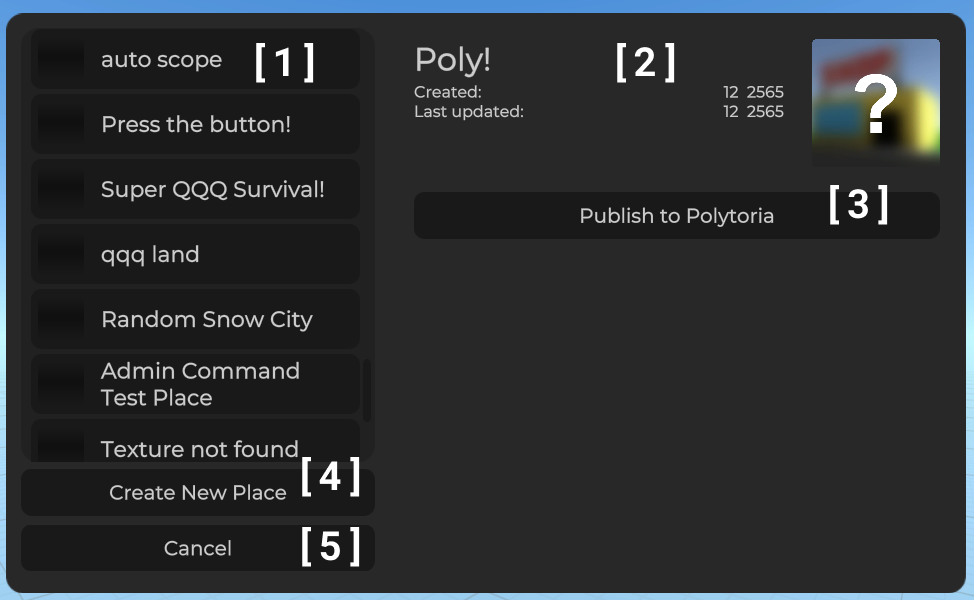
- Your Places ─ Select a place to publish to.
- Place Info ─ View the select place's title, place icon and the creation and last updated dates.
- Publish to Polytoria ─ Publish the Place to Polytoria.
- Create New Place ─ Create a new place.
- Close ─ Close the Publish Place Menu.